 Pin It
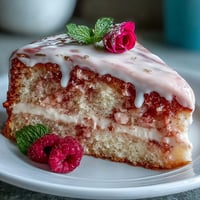
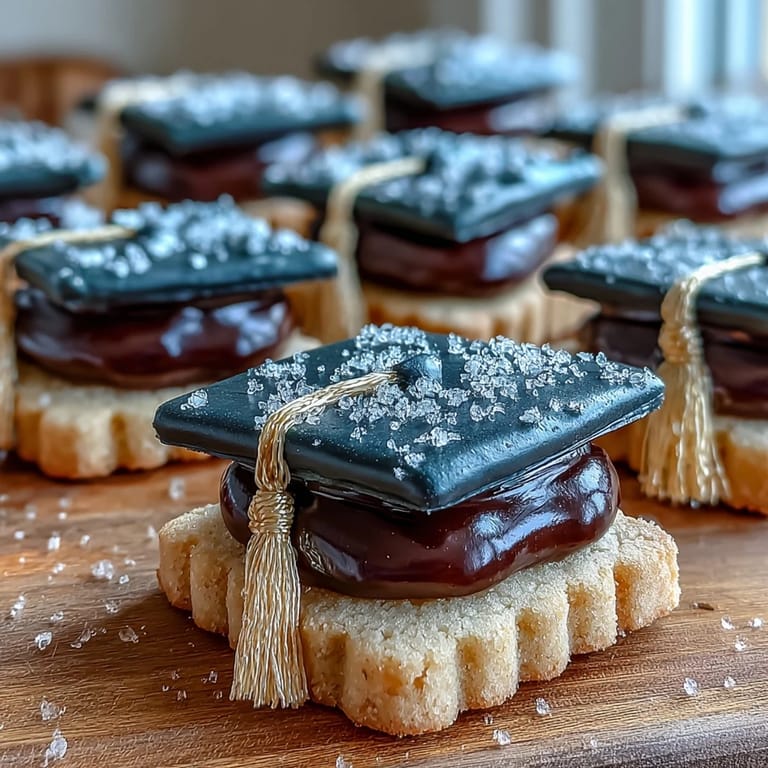
 The first time I baked these graduation cookies, a lovely scent of sugar and butter drifted through the kitchen, tempting my partner to sneak a taste before I even picked up a cookie cutter. There’s something a bit gleeful about dusting flour off your hands while shaping tiny diplomas and mortarboards, each cookie its own small celebration. These treats aren’t just delicious—they turn the act of decorating into a mini art project you can eat. What surprised me most was how the luster of gold icing instantly made them feel like genuine party showstoppers, not just dessert. Sharing them always feels like sharing in someone’s milestone.
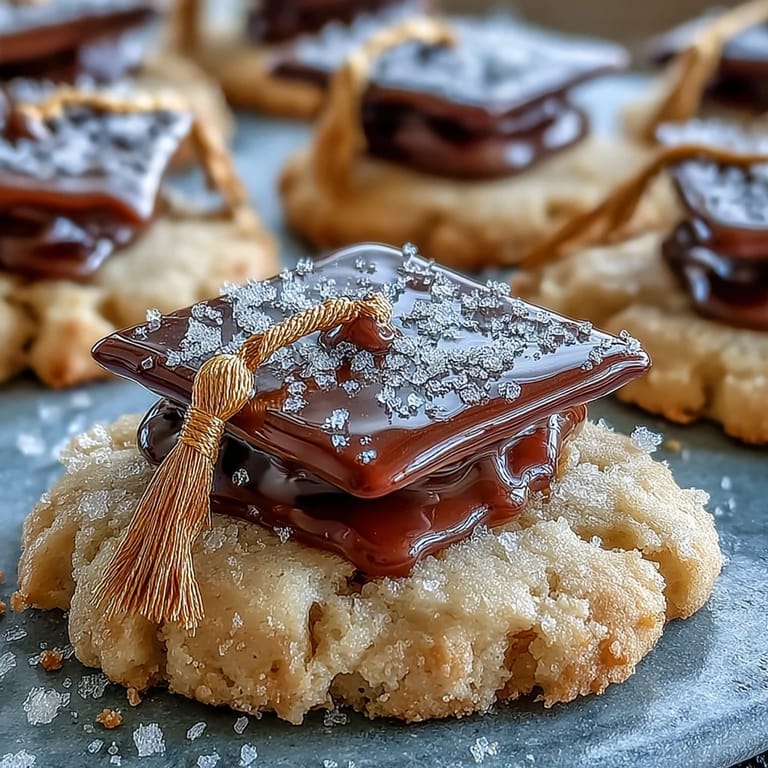
The morning of my cousin’s graduation, I found myself piped-icing these cap cookies at the counter as excited chatter echoed down the hallway. A light dusting of luster dust shimmered across my shirt, and the kitchen played host to nervous toasts and bursts of laughter as I finished the last golden tassel. That quiet moment of focus, amid the chaos, felt grounding—and the cookies became center stage later as the family gathered round the dessert table, admiring them before anyone dared to eat one.
Ingredients
- All-purpose flour: Gives the cookies their sturdy but tender shape so you can get clean diploma and cap edges—chilling the dough beforehand keeps them sharp when baked.
- Unsalted butter: At room temperature, it turns the dough creamy and helps sugar dissolve smoothly when creamed, so don’t rush this part.
- Granulated sugar: Adds classic sweetness without weighing down the crumb since too much can make cookies spread.
- Large egg: Binds everything together for dough that cuts out cleanly and bakes up soft.
- Pure vanilla extract: Rounds out the buttery flavor, while a splash of almond or lemon can nudge the flavor in a new direction if you’re adventurous.
- Salt: Balances sweetness and brings out subtle flavors—don't skip it even though the amount seems small.
- Powdered sugar: Sifted for extra-smooth royal icing that's a dream to pipe and paint.
- Egg whites or meringue powder: The backbone of royal icing, creating a glossy texture that’s perfect for that intricate diploma scroll detail.
- Cream of tartar: Stabilizes the icing so your piped edges stay crisp and neat, not runny.
- Vanilla extract (for icing): Just enough to remove any eggy flavor and add a gentle aroma.
- Black gel food coloring: For bold cap outlines that never fade, and it helps hide any shaky piping lines!
- Gold edible luster dust + clear alcohol or lemon extract: Brings the wow factor; a painter’s touch lets you highlight tassels and ribbons for a real celebration look.
Tired of Takeout? 🥡
Get 10 meals you can make faster than delivery arrives. Seriously.
One email. No spam. Unsubscribe anytime.
Instructions
- Creaming the Base:
- Beat butter and sugar together until pale and fluffy—the noise of the mixer means you’re building the best possible foundation.
- Adding Wet Ingredients:
- Add the egg, vanilla, and almond extract if using, blending just until mixed; the scent will shift to something almost cake-like.
- Finishing the Dough:
- Gradually work in flour and salt, mixing only until the dough forms—overmixing can toughen the cookies, so stop as soon as it looks combined.
- Chilling Out:
- Pat dough into discs, wrap, and chill for at least 45 minutes; this pause makes cutting and baking so much easier later.
- Rolling and Cutting:
- Dust the counter and your rolling pin with flour, roll dough to 1/4 inch, then cut as many caps and diplomas as you can—gather scraps and reroll gently.
- Baking for Perfection:
- Transfer shapes to lined sheets and bake at 350°F for 8-10 minutes—the cookies should look just set, not browned.
- Cooling Completely:
- Let the cookies cool on wire racks, resisting the urge to decorate while they're still even a little warm.
- Mixing Royal Icing:
- Beat whites (or meringue) until frothy, gradually add sugar and tartar, then vanilla, mixing until peaks are shiny and stiff.
- Color Dividing:
- Split your icing into bowls: tint some with black gel for caps, keep some white for diplomas, and leave a little for golden painting later.
- Piping and Flooding:
- Use fine piping tips to outline and fill each cookie—details are easier than you think if you go slow and steady, and wipe up any stray lines with a damp brush.
- Adding Gold Touches:
- Mix luster dust with alcohol or lemon extract, then use a fine brush to paint tassels and ribbon; leave everything to dry until the details feel dry to a gentle touch.
 Pin It
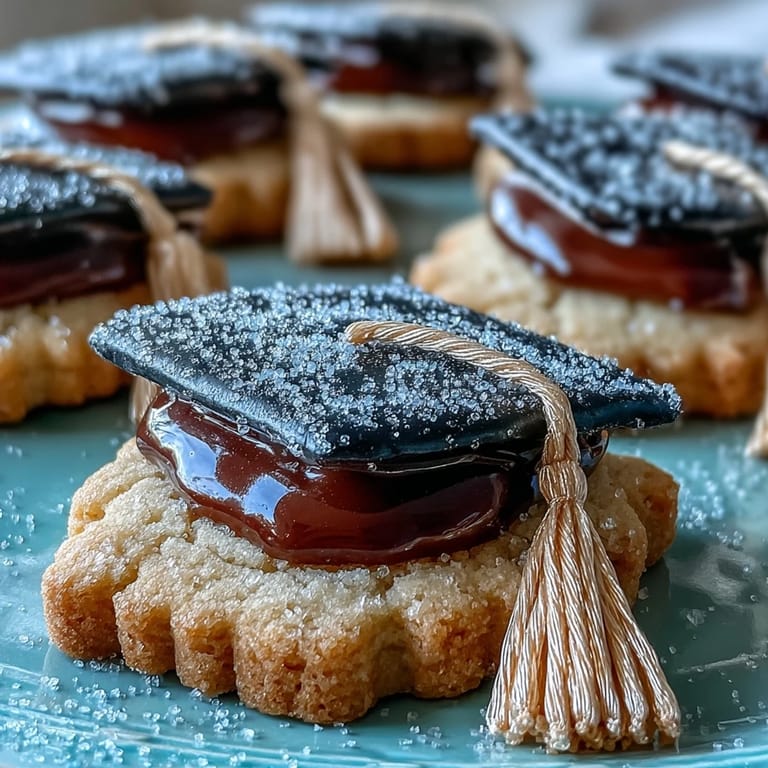
 When we finally set the cookies among the graduation cards and photo collages, the shyest guest’s eyes lit up—she insisted on choosing the fanciest cap, holding it up like a tiny trophy before taking the first bite. Suddenly, the cookies were more than just a sweet: they turned into a small, shining celebration for the graduate herself.
Decorating Like a Pro (Even If You’re Not One)
If your hands shake with piping bags, you’re in good company—I usually mess up the first couple before my lines get cleaner. Let yourself test icing consistency on parchment before tackling the real cookies. Sometimes, a toothpick swirl fixes a minor flood mistake in seconds. And it’s worth choosing sturdy, food-safe brushes for the luster since stray bristles are surprisingly common when you’re excited.
Making Ahead and Storing the Cookies
It always feels like a win to have these cookies baked and ready ahead of time. You can easily make the cookies the day before and decorate the next morning for less pressure on party day. Just be sure to let every layer of icing dry thoroughly—stacking too soon leads to sticky disasters. Airtight tins, kept cool, will keep them buttery-fresh for up to a week.
Ingredient Swaps and Troubleshooting Tips
Swapping almond extract for lemon really does lighten up the flavor, a trick I stumbled on when I ran out one spring. Gluten-free flour blends work as long as you let the dough chill extra long, though they’re a tad more delicate when rolling. If you run out of luster dust, a dab of colored gel thinned with extract can make a pretty accent instead.
- Refrigerate dough overnight if your kitchen is warm.
- Always sift powdered sugar right before making icing for extra smoothness.
- Let painted gold details dry extra long before stacking or wrapping.
 Pin It
 Whether you’re marking a milestone or just want cookies that double as party decor, these little diplomas and caps guarantee smiles. Here’s to gold-flecked treats and the moments that deserve them.
Recipe Questions & Answers
- → How long should the dough chill before rolling?
Chill the dough about 45 minutes so the butter firms and the dough is easier to roll. Longer chilling makes cleaner-cut shapes and reduces spreading during baking.
- → What thickness gives the best bite and hold for decorations?
Roll to about 1/4 inch thickness. This yields a tender cookie that still supports royal icing and detailed piping without collapsing.
- → How do I get smooth, glossy royal icing that holds detail?
Beat egg whites (or reconstituted meringue powder) with powdered sugar and a pinch of cream of tartar until stiff, glossy peaks form. Use a thicker consistency for outlines and a thinner flood consistency to fill; allow outlines to set before flooding.
- → Can I substitute meringue powder for fresh egg whites?
Yes. Use about 4 tbsp meringue powder plus 6 tbsp water to replace two large egg whites. Beat the rehydrated mix with powdered sugar as you would fresh whites for stable royal icing.
- → How do I apply the gold accents without smudging the icing?
Let the royal icing dry completely, then mix gold luster dust with a few drops of clear alcohol or lemon extract to make a paint. Use a fine, food-safe brush to add tassel and ribbon highlights; allow to dry fully before handling.
- → What is the best way to store decorated cookies?
Store in an airtight container at room temperature up to one week. Layer with parchment between cookies to protect decorations, and keep out of direct sunlight to preserve colors.