 Pin It
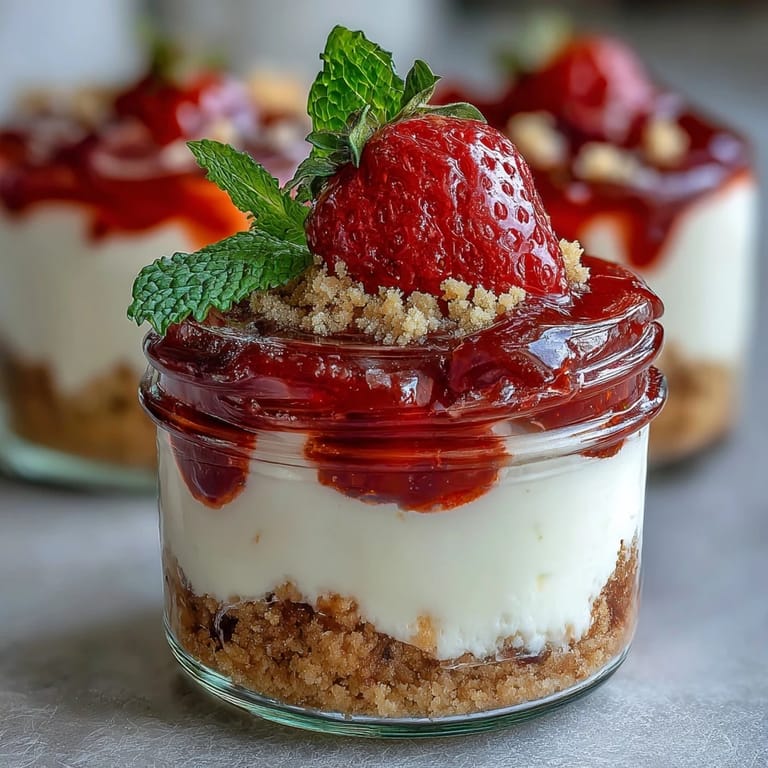
 The spark for these No-Bake Strawberry Cheesecake Jars came last spring when my neighbor dropped off a bowl of strawberries so fragrant, my entire kitchen seemed to hum with sweet energy. I was hunting for something light yet indulgent to offer after an impromptu patio dinner, and layered desserts felt just right. As I stumbled through my cupboard, spotting empty jars beside the biscuits, the idea clicked: a creamy cheesecake in a jar, with bright berries dancing on top. The promise of easy assembly won me over—these desserts would cool while I could actually enjoy the evening. The tart scent of lemon zest has since signaled the start of warm weather in my kitchen.
One afternoon, I tried these for a birthday lunch, hoping the jars would make dessert feel special without fuss. Six cheerful glasses lined up on the counter, with my sister dusting biscuit crumbs and my nephew sampling strawberries meant for garnish. Even the dog circled, sniffing the buttery base. By dessert time, the jars were chilly, layers swirled just enough, and everyone laughed over who had scooped the most compote. That day, the recipe took on new meaning—simple steps, big smiles.
Ingredients
- Graham crackers or digestive biscuits: Crushing them to a sandy texture packs just the right crunch at the base, and using a food bag plus a rolling pin keeps crumbs from flying.
- Unsalted butter: Melting it gently (not boiling) binds the base perfectly without a greasy finish.
- Cream cheese: Allowing it to soften fully avoids lumpy cheesecake, so I always bring it out early.
- Whipping cream: Whip it cold and steady; soft peaks will give the filling lightness and cloud-like texture.
- Powdered sugar: Sifting removes clumps, ensuring the cheesecake stays silky and sweet throughout.
- Vanilla extract: A teaspoon lifts the aroma, and real extract beats imitation for depth.
- Lemon zest: Fresh zest adds brightness—avoid the bitter white pith when grating.
- Fresh strawberries: Choosing ripe ones means the compote will sing, and any leftover berries make a cheerful garnish.
- Sugar: The compote isn't as delightful without a hint of sweet to sharpen the fruit.
- Lemon juice: Just a splash balances the strawberries, and using real lemons heightens their vibrancy.
- Whole strawberries and mint leaves: Placing these just before serving gives each jar its prettiest look, and mint is optional but freshening.
Tired of Takeout? 🥡
Get 10 meals you can make faster than delivery arrives. Seriously.
One email. No spam. Unsubscribe anytime.
Instructions
- Building the biscuit base:
- Grab your jars and spoon in the buttery, sandy biscuit mixture—press gently so it holds, but don't pack too tight or it'll be tough to scoop later.
- Creating the creamy layer:
- Mix cream cheese, powdered sugar, vanilla, and lemon zest until glossy and smooth—then, fold in the softly whipped cream so the mix feels light and cloud-like.
- Layering in the cheesecake:
- Spoon this mixture over your biscuit bases, smoothing each with a spoon, and chill them for at least two hours so flavors meld.
- Cooking the strawberry compote:
- Simmer strawberries with sugar and lemon juice, stirring now and then, until the compote thickens and the scent fills your kitchen; let it cool so it doesn't melt the cheesecake layers.
- Finishing with garnish:
- Once everything is chilled, add compote over the cheesecake, then crown each jar with a whole strawberry and fresh mint if you like before serving.
 Pin It
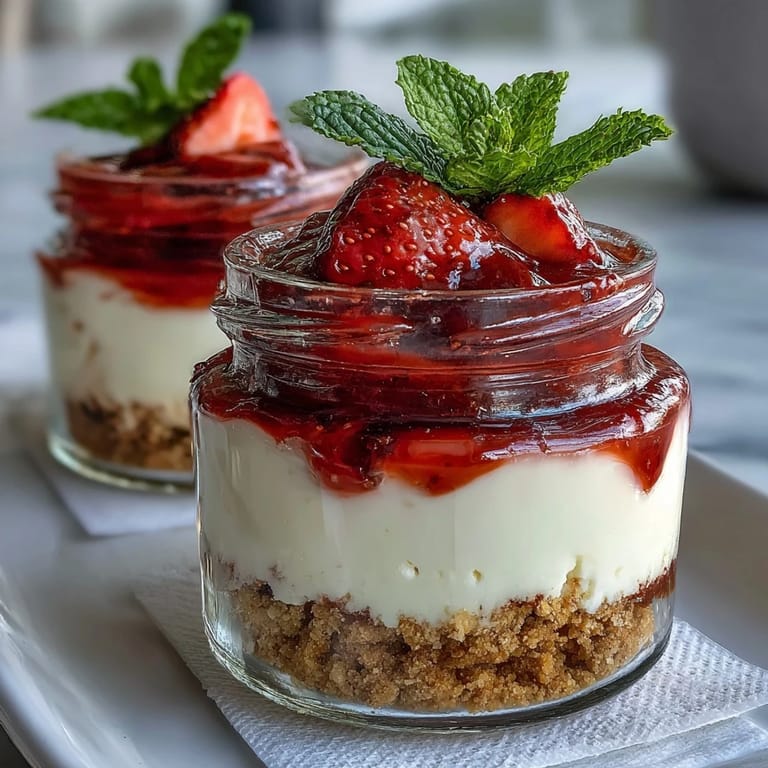
 Watching everyone dig into their own jar, I realized the true joy was in the little details: kids licking spoons, guests admiring the layers, and even a neighbor asking for the recipe by the fence. The dessert became more memorable because it turned a simple spring afternoon into a celebration of togetherness.
What to Expect Serving These Jars
The jars are as easy to serve as they are to prepare; there's no scrambling over slices or messy plates. Everyone gets their own, and even seconds are tidy—just hand over another jar from the fridge.
Adapting for Dietary Needs
Making these gluten-free is a breeze if you use certified biscuits, and I've swapped strawberries out for blueberries or raspberries with plenty of success. The base still crunches, and the compote brings a pop of color whatever the fruit.
Last-Minute Assembly and Presentation
Sometimes, I wait until guests arrive before adding compote and garnishing—the layers look freshest and the mint doesn't wilt. Keeping jars chilled until serving means the cheesecake stays perfectly set, even if you prepared them the day before.
- Use glass jars for the prettiest presentation.
- Let guests choose their own garnish if you want interaction at the table.
- Check the compote texture before topping—it should gently mound, not run.
 Pin It
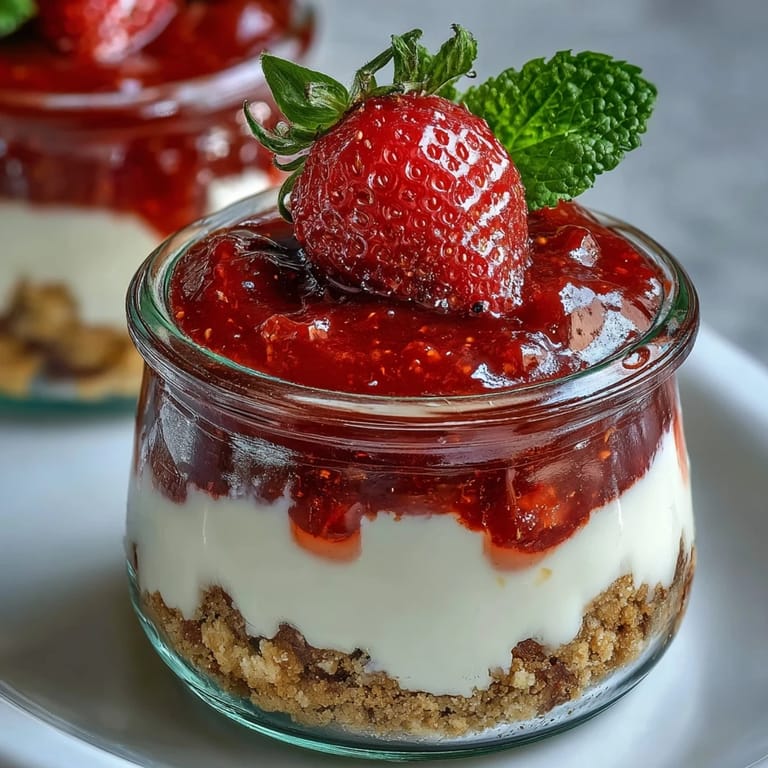
 These cheesecake jars make dessert feel personal and playful, all while keeping spring flavors bold and bright. Here's to sharing jars and stories—may dessert always be this easy.
Recipe Questions & Answers
- → How do I make the biscuit base?
Mix crushed graham crackers with melted butter and press into jars for a compact, flavorful foundation.
- → Can I use other berries for the compote?
Yes, raspberries or blueberries work well as substitutes for strawberries, offering new flavor twists.
- → How long does chilling take?
Chill the assembled jars for at least 2 hours to allow flavors and textures to set beautifully.
- → What tools do I need?
You’ll need glass jars, mixing bowls, a mixer for whipping cream, a saucepan for compote, and a spatula.
- → Is there a gluten-free option?
Use certified gluten-free biscuits in the base to create gluten-free versions for dietary needs.
- → How can I make portions ahead?
Prepare jars up to 24 hours in advance and refrigerate—flavors intensify for a more delicious dessert.