 Pin It
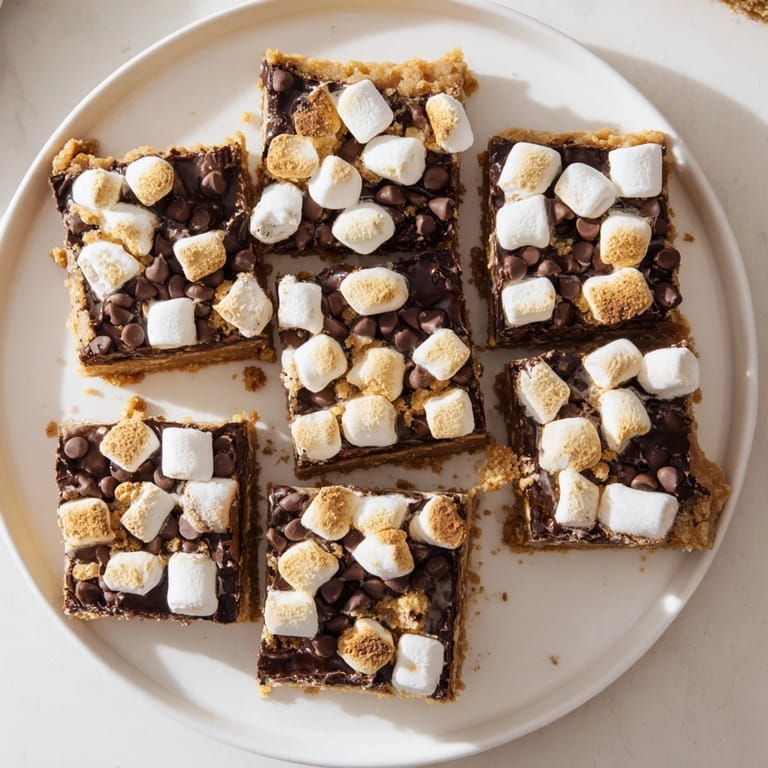
 My apartment smelled like a campfire meets childhood summer camp, except I was standing in my tiny city kitchen with oven mitts on, watching marshmallows turn golden through the oven door glass. I'd been craving that smores magic for weeks but no fire pit in sight, so I decided to bring the campfire indoors. The first batch emerged with this perfectly toasted marshmallow crown, bubbling over chocolate that had melted into every graham cracker nook. My roommate wandered in, drawn by the scent, and we stood there eating them warm with our hands, chocolate everywhere, feeling like we'd pulled off something magical.
Last summer, I made these for a backyard gathering and watched my normally stoic father-in-law's eyes light up when he took his first bite. He kept sneaking back to the pan, 'just to check if they're still good,' which became the running joke of the entire party. Now whenever I visit, someone casually asks if I might have brought those bars, like it's not the most obvious request in the world.
Ingredients
- Graham cracker crumbs: These form your buttery, crunchy foundation and honestly, crushing them yourself usually yields better texture than store-bought crumbs
- Unsalted butter: Melted and worked into the crumbs, this creates that perfectly pressed crust that holds everything together
- Granulated sugar: Just enough sweetness to make the crust sing without competing with the layers above
- Semi-sweet chocolate chips: They melt beautifully and provide that classic chocolate flavor that balances the sweet marshmallow topping
- Mini marshmallows: These toast faster and more evenly than large ones, creating that gorgeous golden blanket we're all after
Tired of Takeout? 🥡
Get 10 meals you can make faster than delivery arrives. Seriously.
One email. No spam. Unsubscribe anytime.
Instructions
- Get your oven ready:
- Preheat to 350°F and line an 8x8-inch pan with parchment paper, letting those ends hang over like little handles for later
- Build the crust:
- Mix graham crumbs, melted butter, and sugar until everything's evenly coated and smells like buttery heaven
- Press it down:
- Firmly pack the mixture into your prepared pan, really pressing it into an even layer so it bakes up sturdy
- Give it a head start:
- Bake the crust for 8 minutes to set it up, then remove it from the oven
- Add the chocolate:
- Sprinkle those chocolate chips evenly over the warm crust and return to the oven for just 2 minutes until they start to glisten
- Spread it out:
- Use your spatula to gently smooth the softened chocolate into a perfect layer
- Top with marshmallows:
- Scatter mini marshmallows across the chocolate, pressing them gently so they stick
- Create the magic:
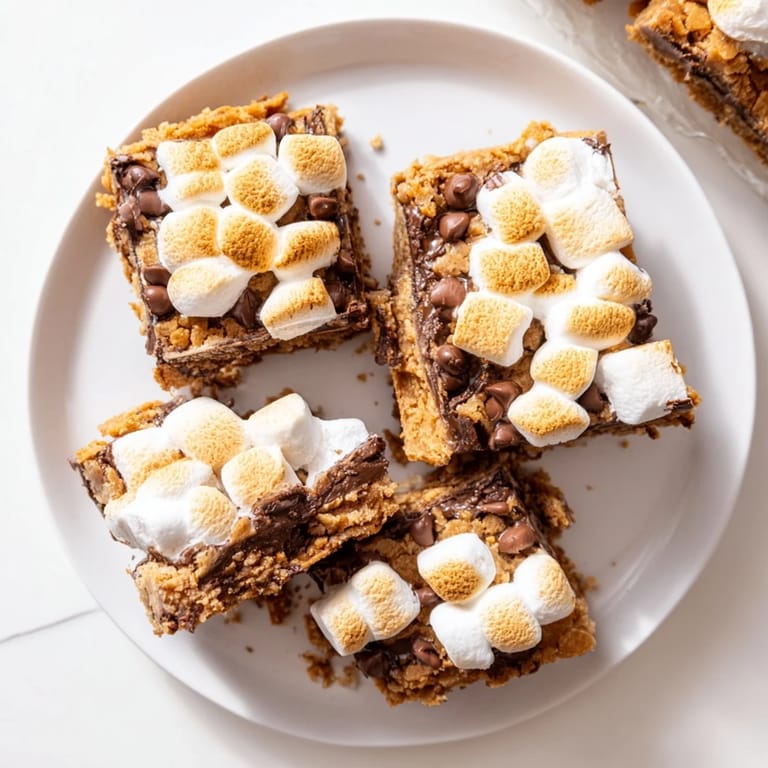
- Bake for 10 to 12 more minutes until marshmallows are puffed and golden in spots
- Patience pays off:
- Cool completely, then chill for an hour if you want those picture-perfect clean cuts
- Time to feast:
- Lift the whole glorious slab out using your parchment handles, slice into squares, and try not to eat them all standing up
 Pin It
 These became my go-to comfort dessert during a particularly rough winter, when something nostalgic and sweet felt like exactly what everyone needed. I started making double batches because word spread, and suddenly I was the smores bar lady, which I've decided is a pretty excellent title to hold.
Making Them Your Own
A pinch of sea salt in the crust or sprinkled over the marshmallows creates this incredible sweet-salty thing that makes people ask what your secret is. I've also swapped in digestive biscuits when I couldn't find graham crackers, and honestly, the slightly different flavor became a new favorite variation.
The Warm Factor
While chilled bars cut beautifully, there's something magical about serving them slightly warm, when the chocolate still oozes a bit and the marshmallows are pillowy. I'll often pop already-cut squares in the microwave for 10 seconds before serving, recreating that just-roasted campfire experience.
Storage Secrets
These bars keep remarkably well in an airtight container for up to three days, though the marshmallows will gradually lose some of their initial toastiness. You can also freeze them individually wrapped and thaw at room temperature for emergency dessert situations.
- Place a piece of parchment paper between layers if you're stacking them
- A quick toast under the broiler revives marshmallow flavor on day-old bars
- Room temperature storage keeps the texture best, unlike refrigeration which makes them firm
 Pin It
 Whether you're feeding a crowd or just treating yourself on a Tuesday night, these bars capture everything wonderful about smores with zero effort required. Enjoy every gooey, chocolatey, perfectly toasted bite.
Recipe Questions & Answers
- → Can I make these ahead of time?
Yes, these bars keep well for up to 3 days when stored in an airtight container at room temperature. For longer storage, refrigerate for up to a week. The texture remains gooey and delicious.
- → What type of chocolate works best?
Semi-sweet chocolate chips provide a balanced sweetness that complements the marshmallows. For variation, try milk chocolate for a sweeter profile or dark chocolate for a more intense flavor.
- → How do I get clean cuts?
Let the bars cool completely, then refrigerate for at least 1 hour before slicing. Use a sharp knife and wipe it clean between cuts. Room temperature bars will be messier but still delicious.
- → Can I use different crackers for the crust?
Absolutely. Digestive biscuits, vanilla wafers, or even crushed Oreos work well as substitutes. Adjust the sugar slightly depending on the sweetness of your chosen cracker.
- → How do I store leftovers?
Store in an airtight container at room temperature for 3 days, or refrigerate for up to a week. For freezing, wrap individual portions tightly and freeze for up to 3 months. Thaw at room temperature before serving.
- → Can I make these gluten-free?
Use certified gluten-free graham crackers or gluten-free digestive biscuits in the crust. Ensure your chocolate chips are also gluten-free, as some brands may contain wheat-based additives.