 Pin It
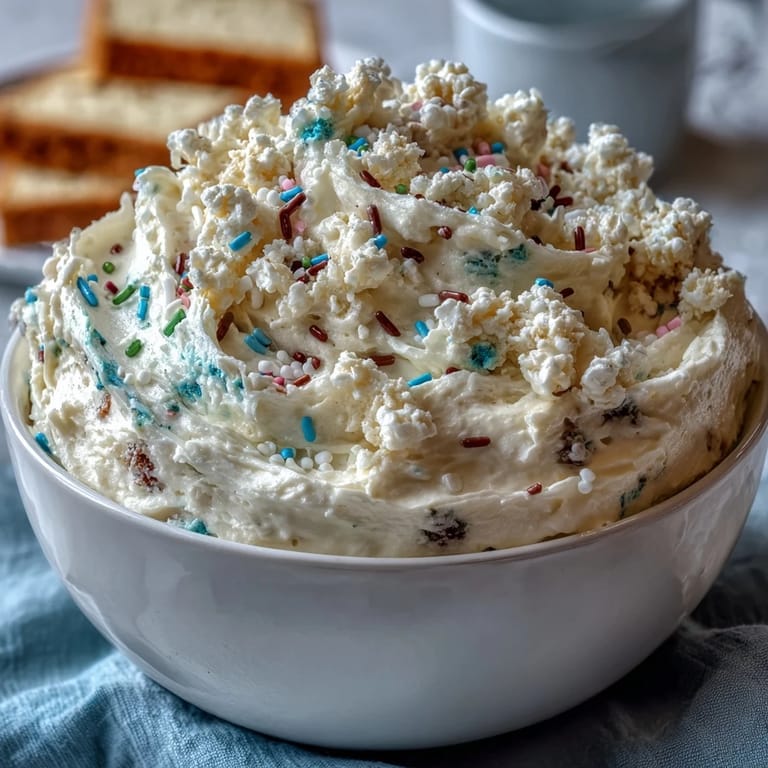
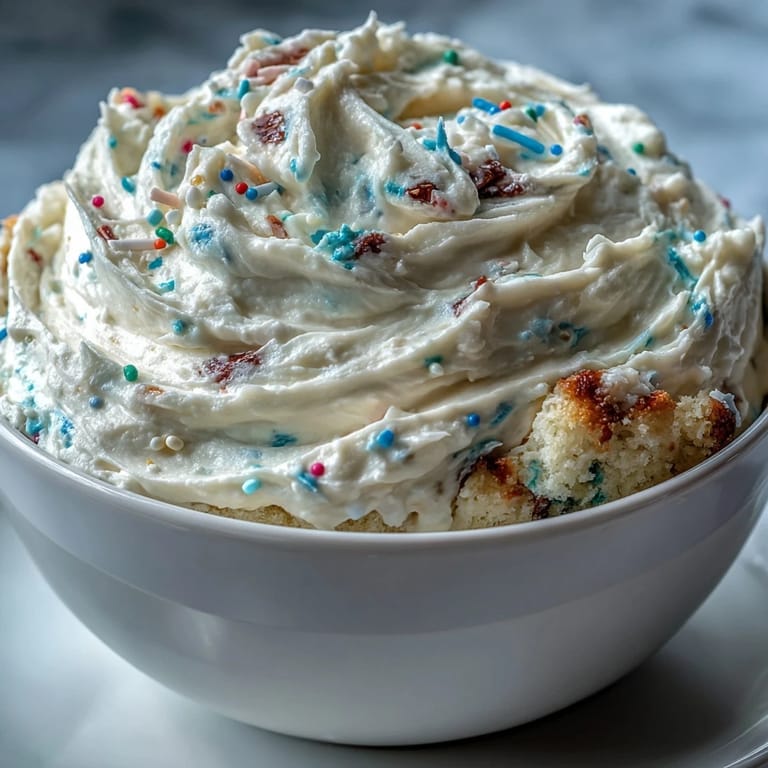
 The first time I made this Spring Birthday Party Sprinkle Funfetti Dip Cake, my entire kitchen filled with the sweet scent of vanilla and a joyful splash of rainbow colors. As I folded the jimmies into the batter, I couldn&t help but laugh at how many ended up on the counter (and my sleeves). There&s a genuine buzz that comes with the promise of sprinkles — something about those colors signals celebration before you&ve even taken a bite. I remember thinking: this cake practically throws its own party. It&s now my go-to when I want to turn any gathering into a confetti-filled affair.
One Saturday, I baked this cake with my niece while she sang made-up birthday songs and aimed handfuls of sprinkles into the bowl. The kitchen echoed with giggles and the whirring mixer, and by the time it came out of the oven, both of us had rainbow-streaked hands and faces. As we layered on the thick, creamy dip, she asked if cakes always had to be this much fun. That moment, sticky and joyful, is baked right into every slice I make now.
Ingredients
- All-purpose flour: The backbone for a fluffy crumb — sift it for an especially soft texture.
- Baking powder: Adds that tender lift, so don&t skimp (and check it&s fresh for best rise).
- Salt: A pinch makes every sweet flavor sing — I learned that extra dash is worth it.
- Unsalted butter: Go for room temperature so it creams perfectly and yields a smooth, buttery base.
- Granulated sugar: Dissolves best with a steady round of beating, creating those signature air pockets in the cake.
- Large eggs: Add richness and structure; bring to room temp so the batter mixes evenly.
- Vanilla extract: Use pure vanilla for truly aromatic, classic birthday cake flavor.
- Whole milk: Keeps each bite moist and tender — a little extra never hurts.
- Rainbow sprinkles (jimmies style): Fold in gently to prevent color bleed; these hold up best when baked.
- Cream cheese: The magic behind that dreamy dip — softening it ahead of time means no lumps.
- Powdered sugar: Sifts in for a silky-smooth frosting texture — worth the small mess for avoiding clumps.
- Extra rainbow sprinkles: No such thing as too many; have them ready for generous decorating.
- Edible spring candies (optional): Adds a playful spring twist — think pastel bunnies or sugar flowers.
Tired of Takeout? 🥡
Get 10 meals you can make faster than delivery arrives. Seriously.
One email. No spam. Unsubscribe anytime.
Instructions
- Warm up and prep:
- Set the oven to 350°F and line your cake pans so nothing sticks — you&ll thank yourself during unmolding.
- Mix up the dry:
- Inhale the nutty aroma as you whisk flour, baking powder, and salt — keep it light so the cake stays airy.
- Cream the butter and sugar:
- Let the mixer glide until everything is pale and fluffy; pause to scrape the bowl (the sound is oddly satisfying).
- Add eggs and vanilla:
- Beat in the eggs one at a time, noticing the batter turn velvety, then pour in the vanilla for that bakery scent.
- Alternate flour and milk:
- Fold in flour and milk in turns — don&t rush, and revel as the batter comes together perfectly smooth.
- Sprinkle moment:
- Gently swirl in the jimmies, watching bursts of color pop up (don&t over-mix or they ll blur).
- Bake to golden:
- Divide evenly into pans and slide into the oven — your kitchen will smell like a festival. The cake&s done when a toothpick comes out clean.
- Cool completely:
- Let the layers rest on a rack; resist the urge to peek, or they might break on you while still warm.
- Make the dip:
- Blend cream cheese and butter till cloud-like, then slowly add powdered sugar, vanilla, milk, and more sprinkles. Chill until thick but spreadable.
- Layer and frost:
- Set the first cake on your stand, heap on a generous dip layer, top with the next cake, and cover all over with more dip.
- Splash on decorations:
- Scatter sprinkles and candies wherever inspiration strikes, then chill for at least 30 minutes to set everything in place.
 Pin It
  Pin It
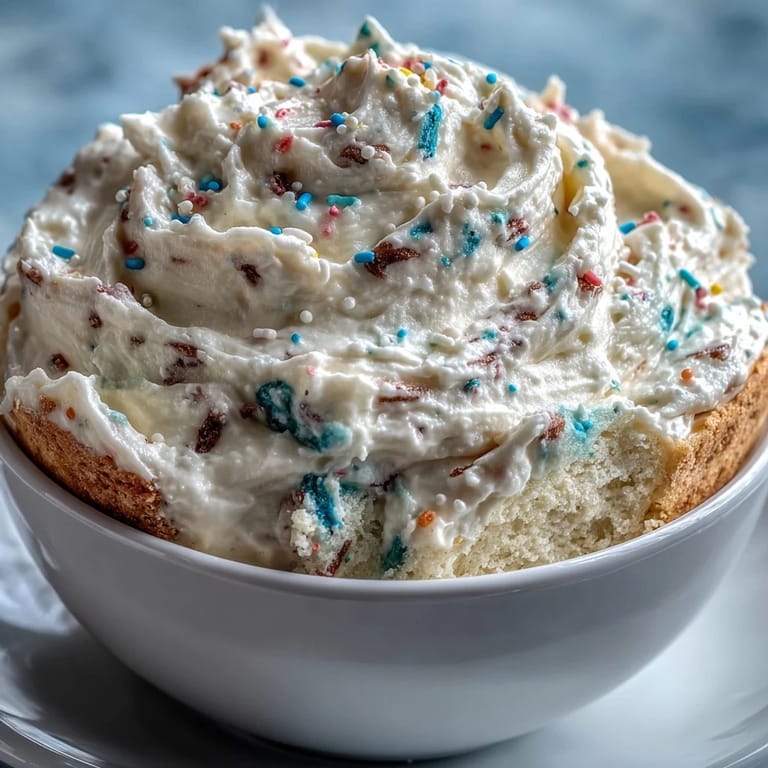
 I brought this cake to a spring garden party and watched quiet conversations turn into bursts of laughter as guests compared whose slices sparkled with more sprinkles. That was the afternoon I realized a cake like this can shift the mood of a whole room.
Making It Your Own
After testing different sprinkle types, I stuck with jimmies because they keep their color inside the cake. You can swap in pastel confetti for a more muted look, or use custom colors for different themes — it&s an easy way to personalize every celebration.
Serving Suggestions
The dip makes this cake a celebration on the inside and outside, but it&s just as much fun sliced thick alongside sugar cookies, pizzelles, or even fresh strawberries for scooping up any stray dip. If serving little ones, hand out extra sprinkles for table-side fun — just expect a little more mess.
Keeping It Fresh and Colorful
I&ve learned this cake stays brightest and most moist when stored covered in the fridge, especially once those vibrant sprinkles have settled in. Keeping the layers tightly wrapped before assembly helps, too, if you need to make parts ahead.
- Bring leftovers to room temperature before serving for the softest texture.
- Extra dip makes a great topper for cupcakes or mini fruit tarts.
- The cake can even be frozen (unfrosted), making party prep stress free.
 Pin It
  Pin It
 Cakes like this turn ordinary days into moments worth celebrating. Every sprinkle is a tiny reminder to let a little fun into your kitchen, no matter the season.
Recipe Questions & Answers
- → Can this be made ahead?
Yes. Bake and cool the layers, prepare the dip, and assemble the cake the day before. Chill overnight to let flavors meld, then add fresh sprinkles before serving.
- → How do I prevent sprinkles from bleeding into the batter?
Toss sprinkles lightly in a small amount of flour before folding them into the batter and fold gently to minimize color bleeding and sinkage.
- → Can I make a gluten-free version?
Substitute a 1:1 gluten-free flour blend and check that sprinkles are gluten-free. Baking time may vary slightly; test doneness with a toothpick.
- → How can I stabilize the dip for piping or taller layers?
Chill the dip until firm and, if needed, add a bit more powdered sugar to stiffen. Keep the cake chilled between stacking to maintain structure.
- → Any tips for even layers and clean slices?
Level baked layers with a serrated knife before assembling. Chill the finished cake at least 30 minutes and use a hot, dry knife wiped between cuts for neat slices.
- → Can I swap dairy ingredients for a non-dairy option?
Yes. Use non-dairy cream cheese, plant-based butter, and a suitable milk alternative. Texture and chill time may differ slightly.